WordPress is one of the most popular website-building platforms in the world, and using the WooCommerce plugin, businesses can transform their WordPress site into an online store. It’s perfect for easily creating a fully-fledged and multifunctional eCommerce presence for your business.
The great thing about WordPress is that it supports user logins and user roles. This way you can let customers log in to your site to place their orders. Ideally, you want to prompt users to log in to your online store using specific blog posts or pages other than just in the primary navigation menu. This is great for encouraging users and customers to create an account to save time checking out from your WooCommerce store in the future.
Other than making your online store appear more professional, it also enhances customers’ feelings of security. As a result, by allowing your customers to log in, you can expect to boost sales and increase conversions on your online store. This is why you might want to let site visitors log in to your online store from anywhere on your site by using a WooCommerce login shortcode.
In this article, we’ll show you how to create a WooCommerce customer login page and widget with shortcodes.
Different login options for your WooCommerce site
WooCommerce by default offers various login options for your online store. This means that, depending on your business model, you can choose the WooCommerce login option that suits your organisation and shoppers the best.
You can offer optional account creation on your online store with the possibility of shoppers checking out their orders as guests. This means that you can still allow user registration but it won’t restrict a normal shopper to checkout on your WooCommerce store.
On the other hand, you can make WooCommerce registration mandatory for those users who want to place orders. This means that all shoppers must register on your online store first to have access to the checkout page and buy products from you.
In addition to this, you can let customers create their own WooCommerce login credentials by using the traditional email and password registration forms. You might also consider offering social login options that let users log in to your WooCommerce site by using their social media accounts from popular platforms such as Facebook, Instagram, and Twitter.
Another option is to just send users auto-login links to make it much more convenient to log in to your WooCommerce store. This way, all they have to do is click on the link to and it will redirect them to your WordPress site and users will automatically be logged in to your online store.
How to add login options to your WooCommerce store using login shortcodes
Shortcodes provide a simple way of inserting other bits of content into posts or pages on your WordPress site. By using shortcodes, you can add content to WordPress pages, widgets, sidebars, and posts, without having to write a single line of HTML, CSS, or PHP code yourself.
All you need to do is paste the shortcode into either the classic WordPress editor or use the WordPress shortcode block if you’re using Gutenberg. It’s even easier than using templates.
The WooCommerce plugin by default offers a lot of shortcodes that add functionality and help enhance the shopping experience on your WooCommerce site. You can add a wide range of WooCommerce shortcodes including:
Page shortcodes
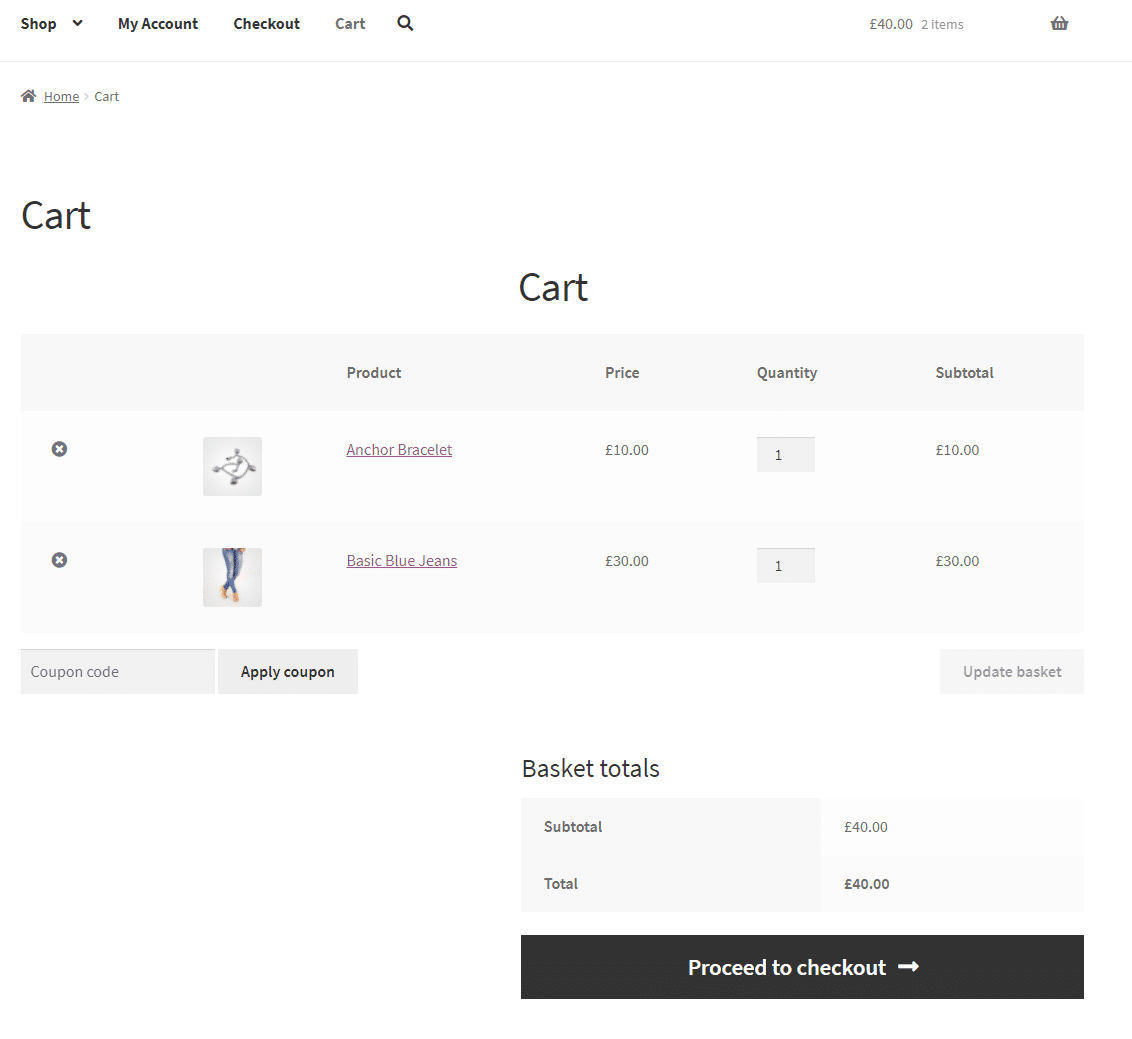
Using the [woocommerce_cart] shortcode, you can display the cart contents and interface for redeeming coupon codes on the cart page of your site or in the sidebar.
Checkout
The [woocommerce_checkout] shortcode lets you show the checkout process and is usually used on the WooCommerce checkout page.
My account
You can display the user account page using the [woocommerce_my_account] shortcode.
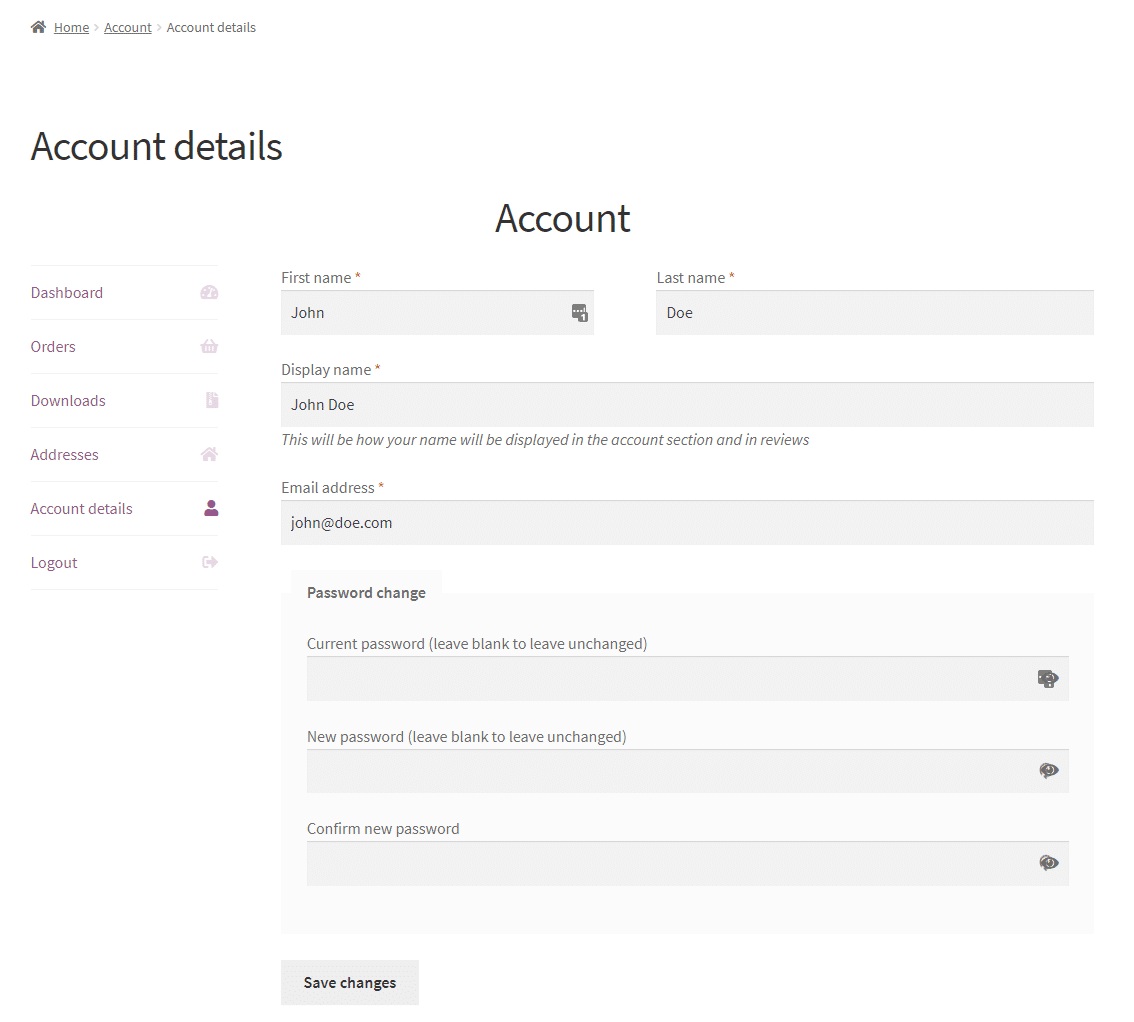
This will display the My Account section on your WordPress site that lets customers see their previous orders and view or edit their information.
Order tracking form
The [woocommerce_order_tracking] shortcode shows the order tracking form on your WooCommerce site.
Products shortcodes
Using the [products] shortcode, you can showcase products on your WooCommerce store by post ID, SKU, categories, or attributes and select whether you want to enable pagination or not. You can also set random sorting for WooCommerce products and set various product tags.
Product category shortcodes
Specific product category
The [product_category] shortcode allows you to display specific WooCommerce product categories on any page.
All product categories
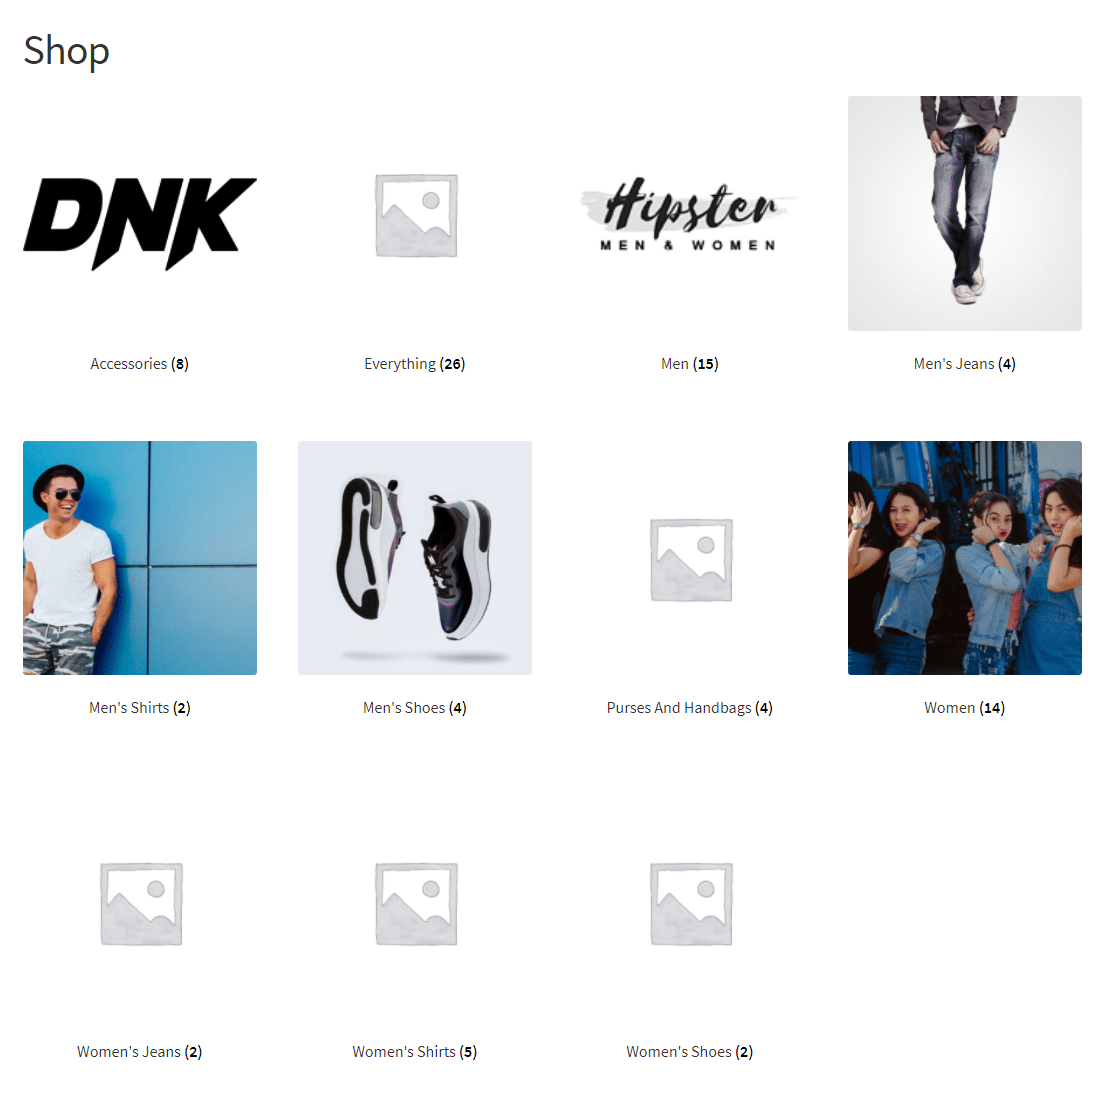
You can display all your product categories on WooCommerce using the [product_categories] shortcode.
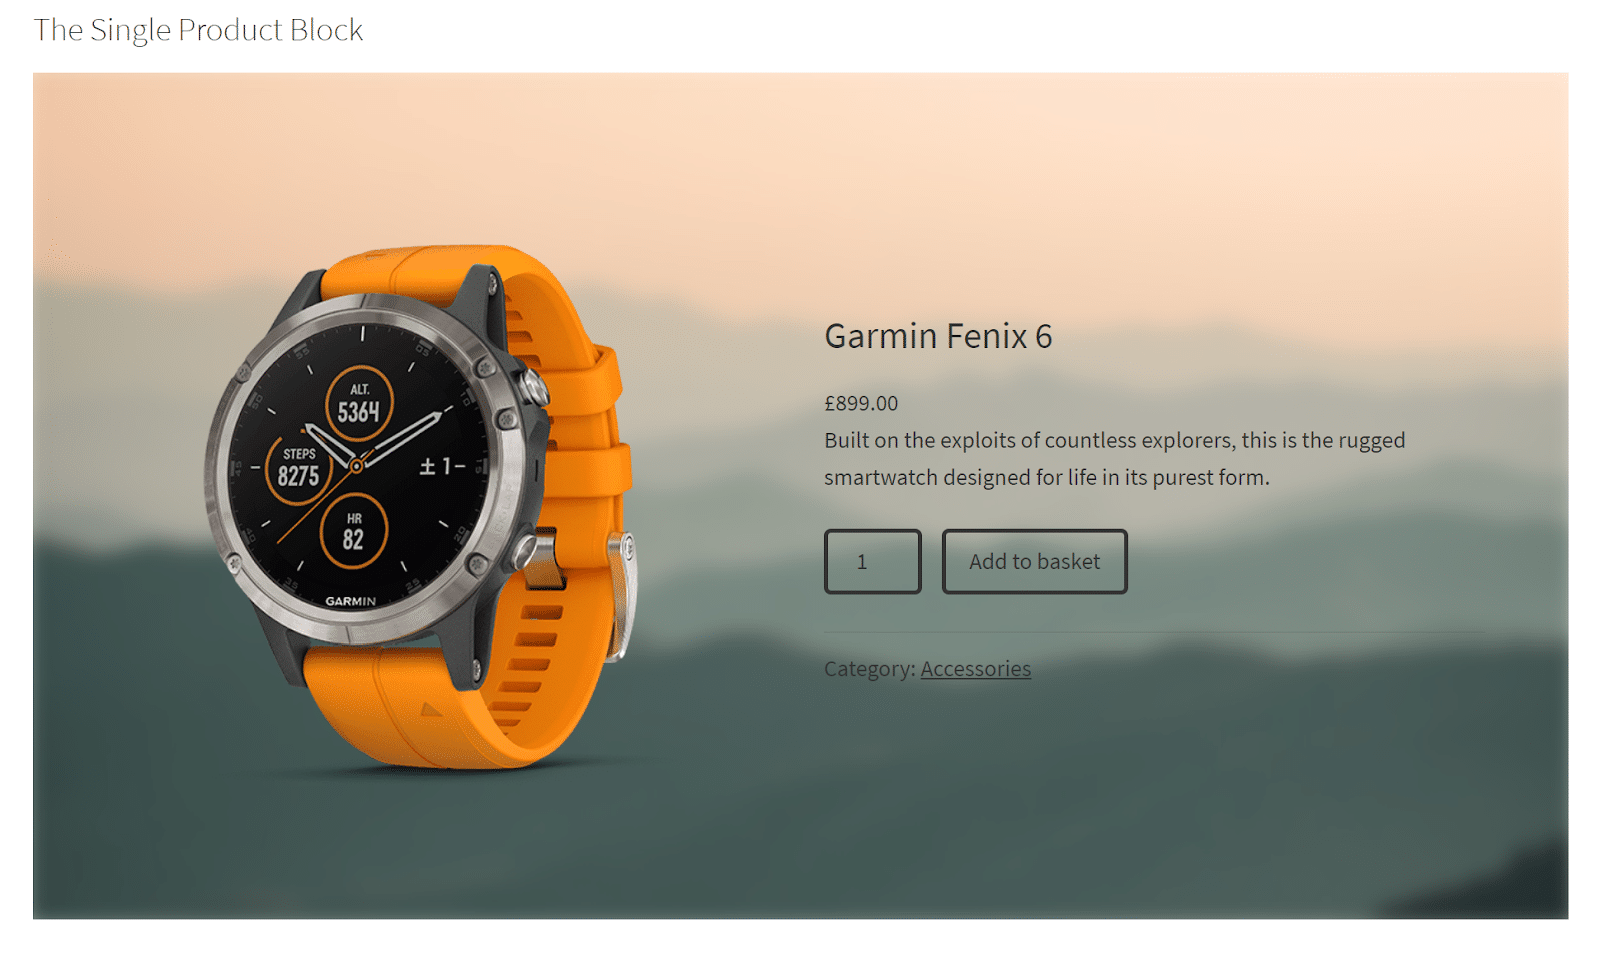
Product page shortcode
The [product_page id=” “] shortcode lets you showcase a full single product page on your WooCommerce store by product ID. On the other hand, you can also display the WooCommerce product page by product SKU using the [product_page sku=” “] shortcode.
Related products shortcode
You can list related WooCommerce products by using the [related_products limit=” “] shortcode on single product pages.
Add to cart shortcode
With the [add_to_cart id=” “] shortcode, you can display the price and add to cart button of a single WooCommerce product by product ID.
Add to cart URL shortcode
The [add_to_cart_url id=” “] shortcode allows you to link the URL on the add to cart button of any WooCommerce single product by ID. You can use parameters to add multiple quantities to the cart.
Shop notifications shortcode
You can also show WooCommerce notifications on pages that aren’t created by WooCommerce by using the [shop_messages] shortcode. These notifications can include alerts for when products are added to the cart or when the customer checks out.
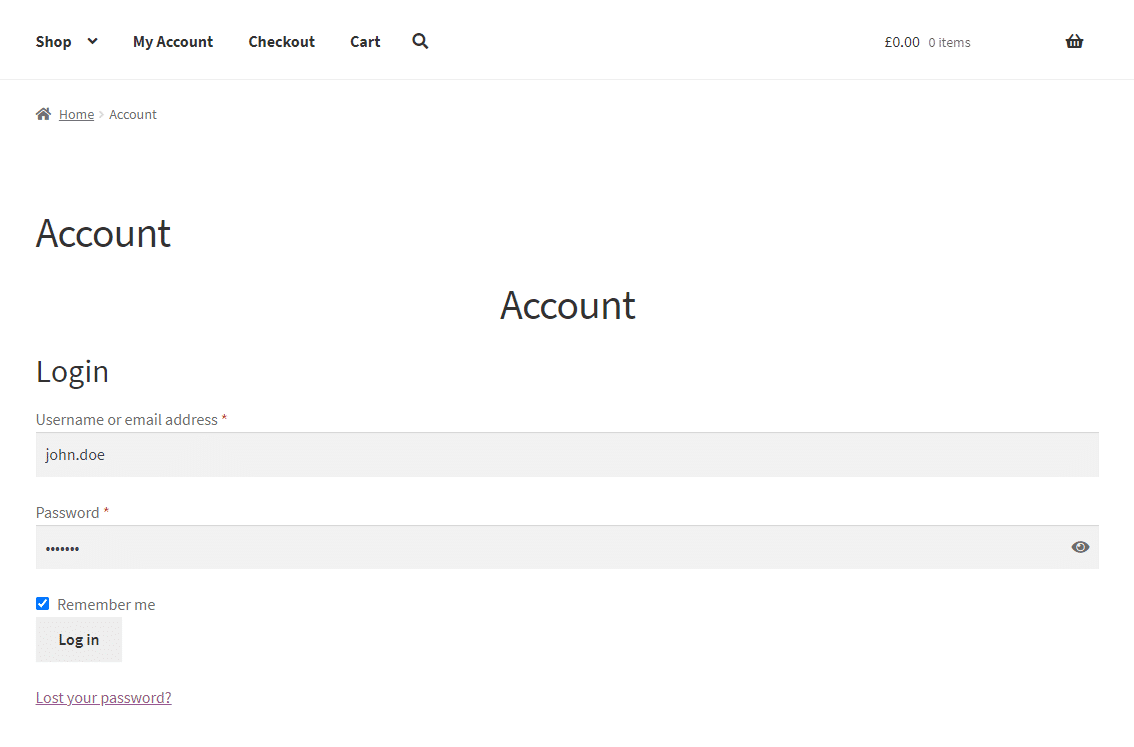
As mentioned previously, the “My account” shortcode allows you to display the My Account page on your WooCommerce site. This lets users register or log in to your WooCommerce store. The [woocommerce_my_account] shortcode can be used anywhere on your site to create a WooCommerce login form or registration page. However, it’s on the My Account page by default.
To enable the My Account page on your WooCommerce site, navigate to WooCommerce → Settings and then click on the Accounts & Privacy tab.
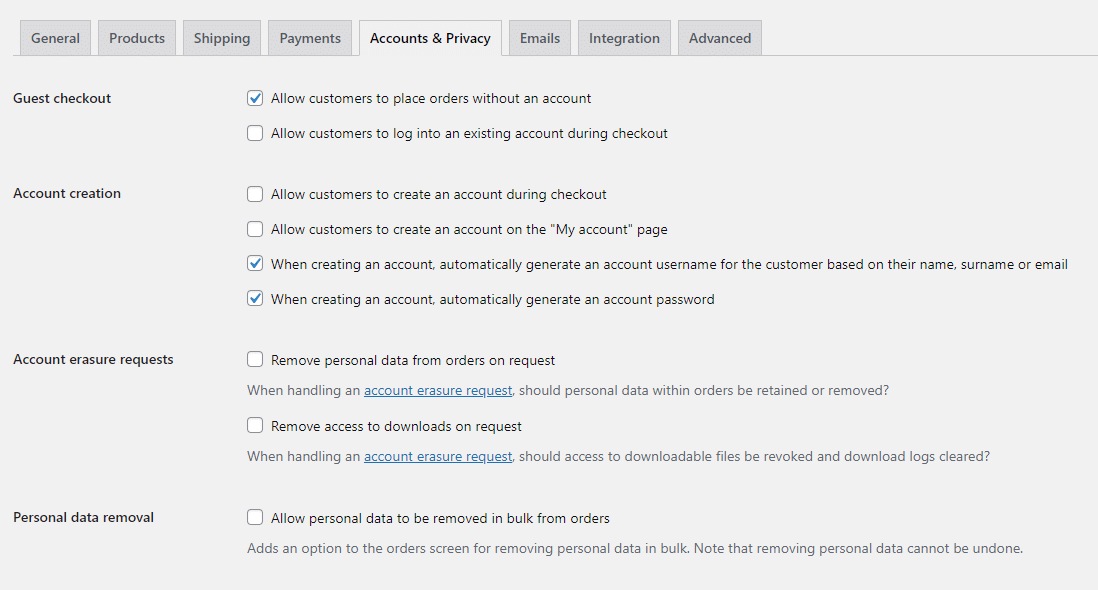
Now, select the checkbox Allow customers to create an account on the “My account” page under the Account creation section. This will let shoppers on your WooCommerce store register an account or log in to their existing account by navigating to the My Account page.
Click the Save changes button to apply changes on the front-end of your ecommerce store.
In addition to this, you can also force users on your WooCommerce store to log in before they can checkout with their order. To do this, navigate to WooCommerce → Settings → Accounts & Privacy and untick the checkbox Allow customers to place orders without an account under the Guest checkout section.
This will ensure that anyone who buys from your WooCommerce store will have to create an account or log in to their existing account. Apply the new changes by clicking the Save changes button at the bottom of your screen.
Customising your WooCommerce store with Storefront Pro, Storefront Blocks, and WooBuilder Blocks
While it’s important to let users log in to your WooCommerce store, the only real way to stand out is for your store itself to stand out and to create pleasant user interactions. This means that you need to make sure your store provides a unique shopping experience that sets it apart from your competitors.
This also means that you need to maximise your customisation potential in terms of how you present your brand to site visitors, how you display products on your WooCommerce store and how you entice visitors to buy from you. All of this is crucial in helping you differentiate from other online stores and helps attract new site visitors to your WooCommerce store.
The only problem with this is that WooCommerce by default doesn’t have built-in functionality that lets you do that. The best it offers you is some customisation options and a few ways to showcase your WooCommerce products. This means that there’s no real way of representing your brand properly, it’ll still look like a generic WooCommerce store.
Luckily, there are robust plugins such as Storefront Pro, Storefront Blocks, and WooBuilder Blocks that offer a lot of customisation features out of the box. These plugins come with tons of functionality built-in that helps make your store look attractive and boosts its performance.
In addition to this, customising your WooCommerce store with Storefront Pro, Storefront Blocks, and WooBuilder Blocks is intuitive – even non-coders can do it. It also offers plenty of documentation for people who are willing to learn advanced functions or to help deal with bugs and issues.
Let’s go over a few of these functionalities:
Add to featured products
Displaying your WooCommerce featured products is good for boosting product visibility and encouraging more customers to buy from your store. However, it still looks and feels generic and boring. Instead, you can use Storefront Blocks to showcase your featured products in beautiful product blocks.
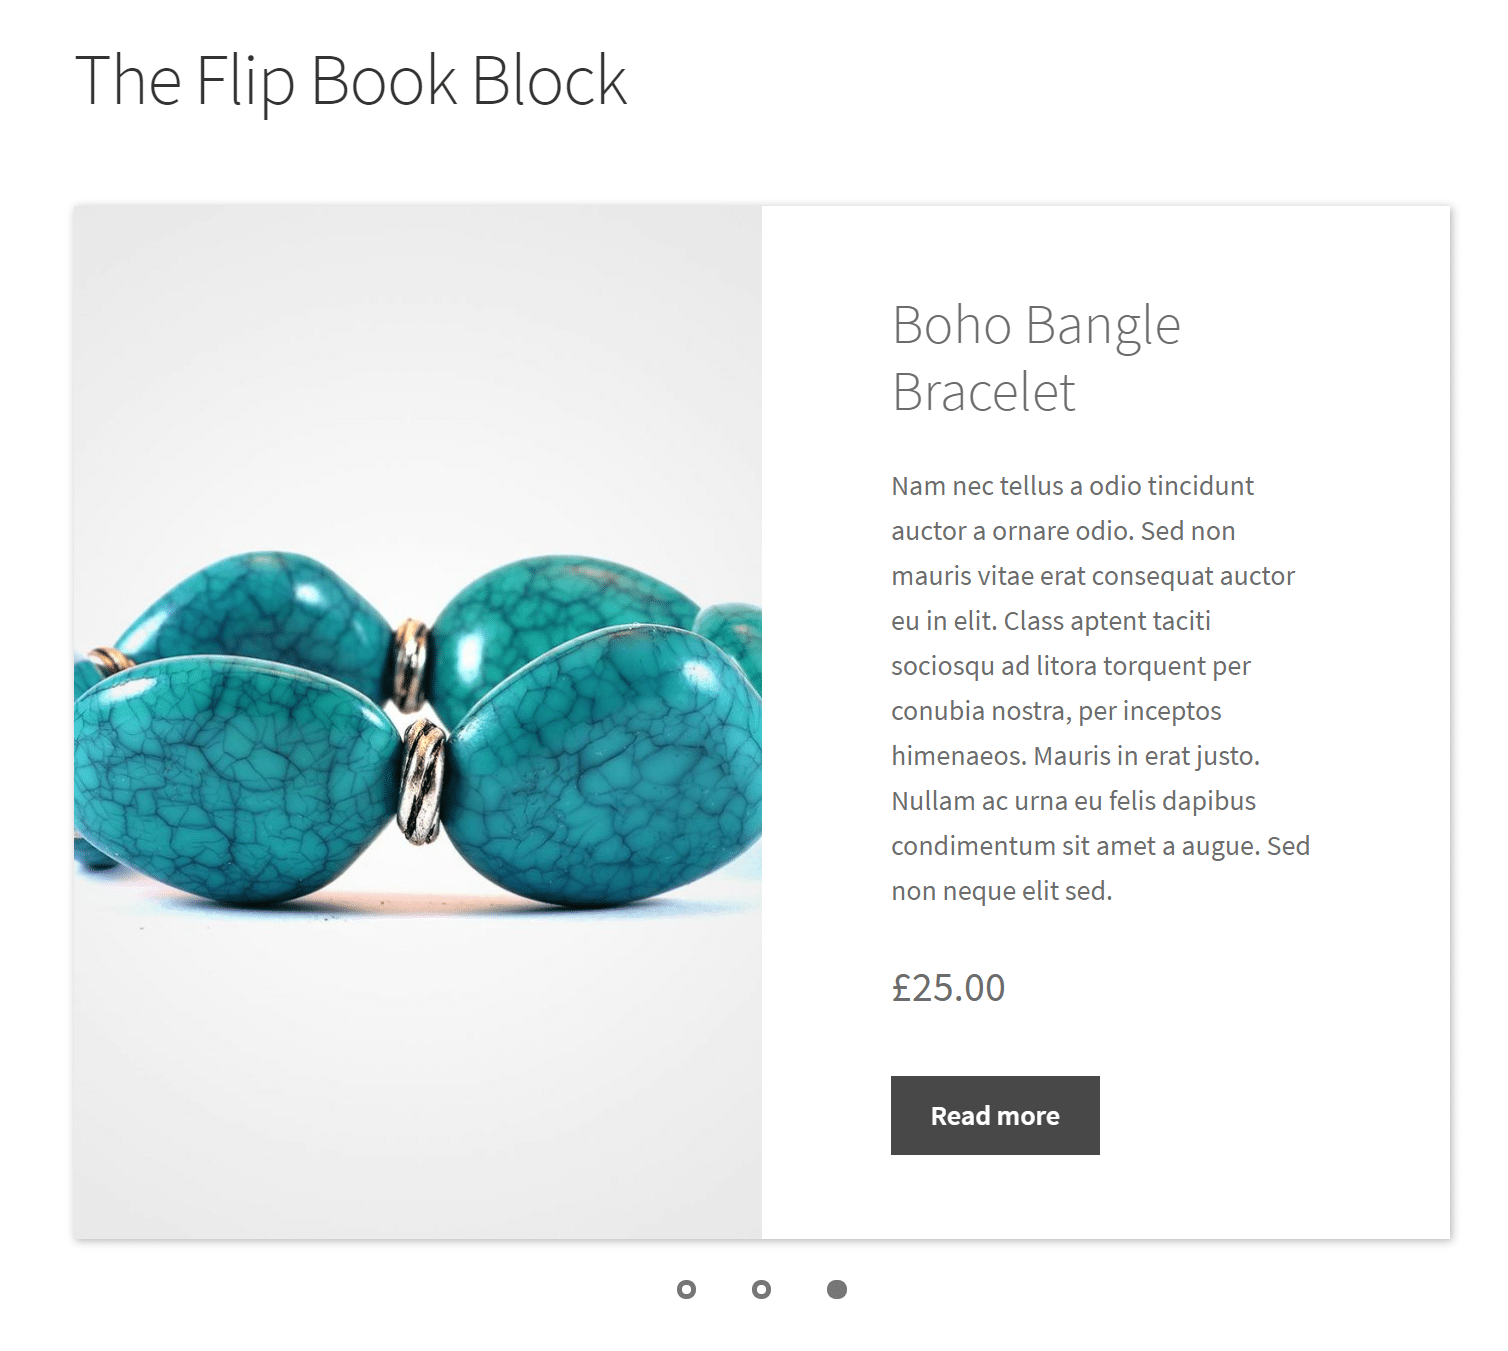
You can choose from various blocks including the Flip Book Block, Masonry Product Block, Product Carousel Block, Product List Block, and the Product Grid block. The best part about this is that you can also customise the product blocks according to your brand needs and requirements.
Check out our guide on various ways to make your WooCommerce featured products stand out for more detailed information.
Add a countdown timer
Adding a sales countdown timer to your WooCommerce store is a great way to highlight specific products. In addition to this, it’s also a great way to boost your sales campaigns for flash sales, special promotions, or holiday sales on your WooCommerce store.
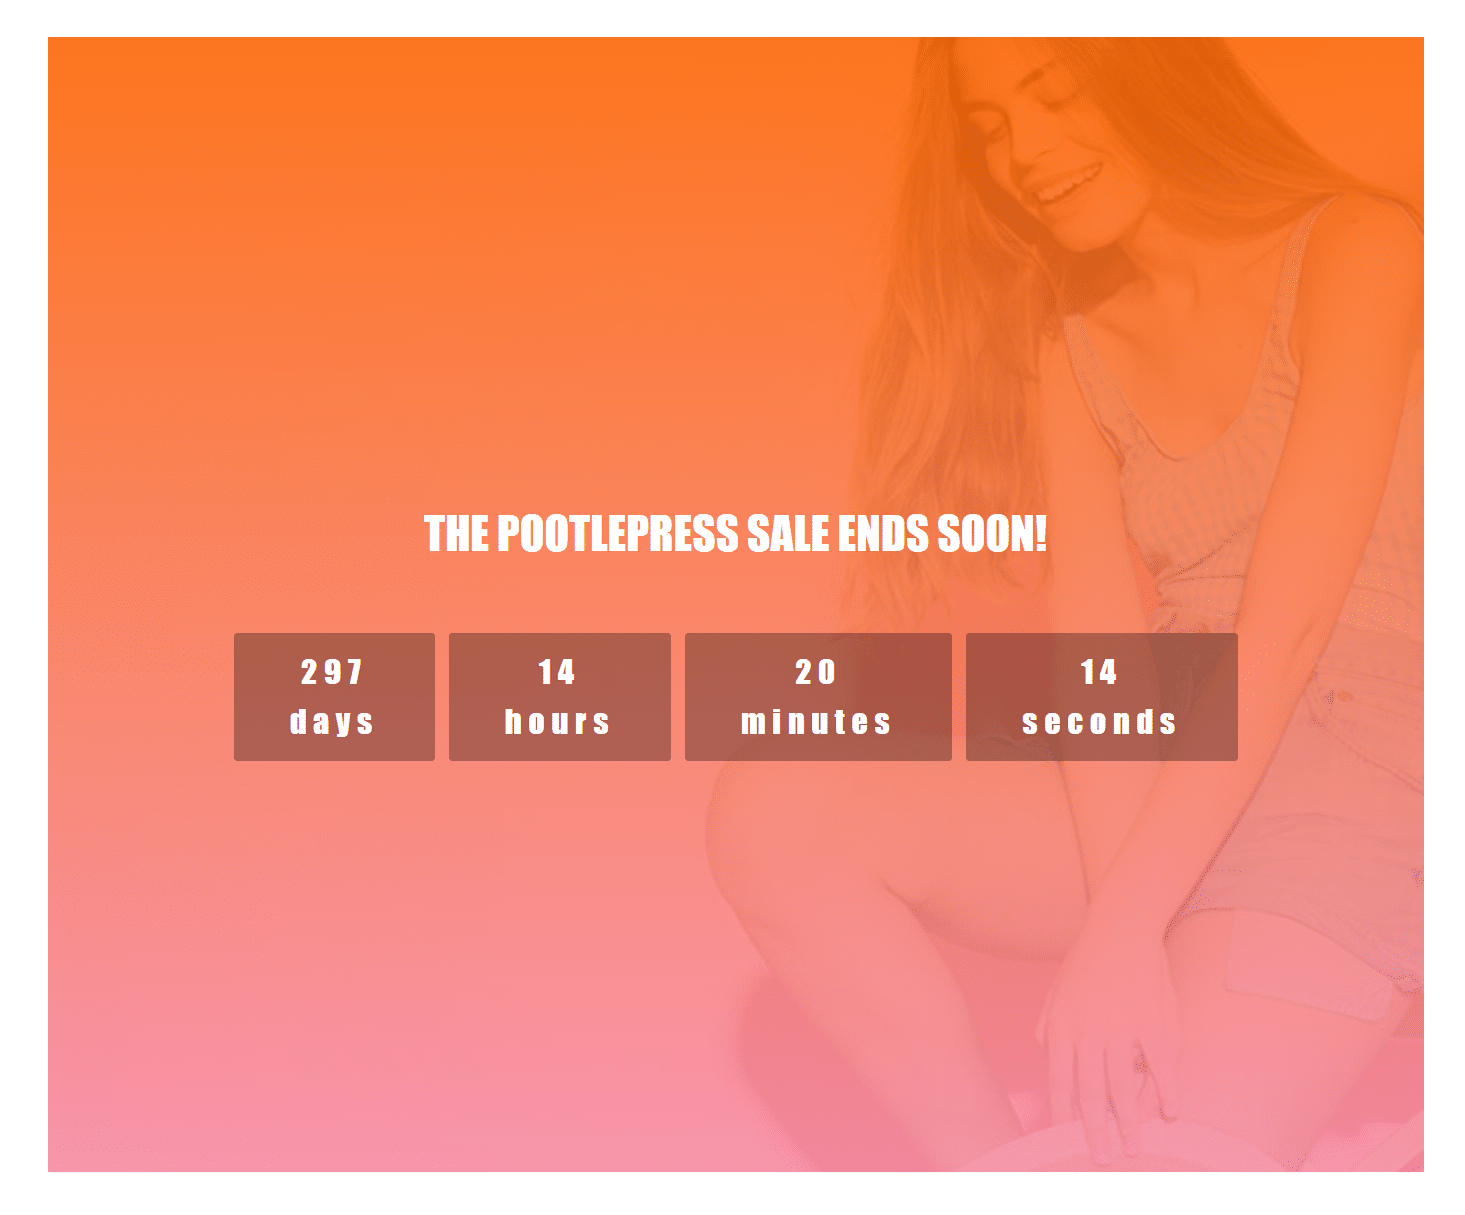
Using the WooBuilder Blocks plugins, you can add a sales countdown to individual product pages on your WooCommerce store. This way, you can display a countdown for the remaining sale campaign time on single product pages on your online store.
Additionally, you can also display a countdown timer on the shop pages and category pages on your WooCommerce store using the Storefront Blocks plugin.
Be sure to take a look at our tutorial on how to use a WooCommerce sales countdown timer to create urgency and drive more sales for more information.
Customise your add-to-cart-button
The “add to cart” buttons on your WooCommerce store play a crucial role in the buying process.
The WooCommerce add to cart button has the potential to encourage site visitors to browse through your products longer, create purchase incentives, and boost the user experience on your online store. Ideally, you want to customise the add-to-cart buttons on your WooCommerce store.
Give our guide on how to customise your WooCommerce ‘add to cart’ button a read for more information.
Fully customise your WooCommerce background
The background image on your WooCommerce store can distract shoppers from your products and make navigation confusing. As a result, it causes a poor user experience on your site and can lead site visitors to bounce off your website. Ideally, you want to customise your WooCommerce background according to your brand so it helps your store stand out from other websites.
You can go through our guide on how to transform your WooCommerce background with hero images, videos, sliders, or featured products for more information.
Conclusion
A quick and easy login process ensures that WooCommerce users register for an account and buy from your store. Once shoppers are registered, it helps them conveniently log in and purchase their order quickly, without having to add details and information for the order again. This not only makes your WooCommerce site more user-friendly but also increases conversions.
It’s simple and intuitive to make your WooCommerce store look unique and enhance the shopping experience for customers using Pootlepress plugins. They offer an all-in-one solution for website owners looking to customise the look and feel of their WooCommerce store. This encourages new site visitors to shop at your WooCommerce site and helps you boost sales.
Storefront Pro and Storefront Blocks offer powerful plugins that add to the functionality of your WooCommerce store. Try them out and see for yourself how they help showcase your WooCommerce products better and provide an enhanced shopping experience for your customers.
Leave a Reply